Posts published on September 2023

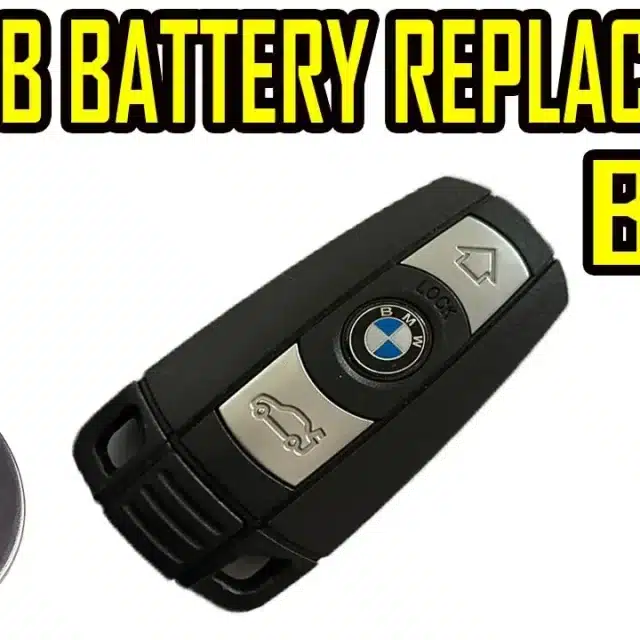
How to Replace Battery BMW Smart Key Fob Confort Access E Series

1 Series, 3 Series, 5 Series, BMW, E60 E61 (2003-2010), E81 E82 E87 E88 (2004-2013), E90 E91 E92 E93 (2005-2011), X series, X5 E70 (2007-2013), X6 E71 (2008-2014)

How to Replace Battery BMW Smart Key Fob Confort Access E Series

This article refers to the key of those cars equipped with the Confort Access system. The cars that doesn’t come equipped with this option, unfortunately, have an encapsulated key case, because the battery is charged while the key is in the ignition , by induction.

In the case of cars without Confort Access, replacing the battery is more difficult, because the key case must be cut, replaced the battery and a new case must be installed.

Battery type: CR2032

Replacement time: 1 minute

To see how the key battery can be replaced, I invite you to watch the following video tutorial :

SUBSCRIBE TO MY YOUTUBE CHANNEL

DISCLAIMER :

This article is only for informative purposes. We do not take any responsibility and we are not liable for any damage you produce as a result of using the information contained by this article . Use the information at your own risk . Thank you for your understanding !

Force Reboot Reset iDrive CCC BMW E60 E90 E63 E81 X5 X6

1 Series, 3 Series, 5 Series, BMW, E60 E61 (2003-2010), E81 E82 E87 E88 (2004-2013), E90 E91 E92 E93 (2005-2011), X series, X5 E70 (2007-2013), X6 E71 (2008-2014)

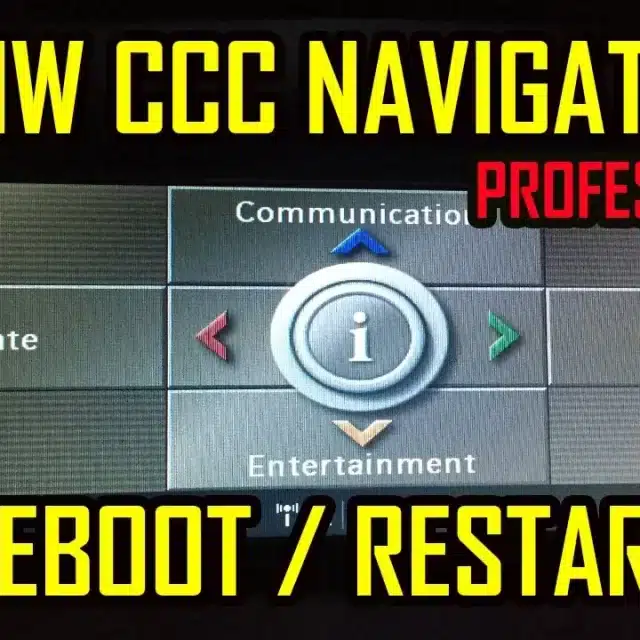
Force Reboot Reset iDrive CCC BMW E60 E90 E63 E81 X5 X6

In this article I will show you how to restart/reboot the iDrive CCC Professional navigation system.

The abbreviation CCC comes from the term “Car Communication Computer” and was introduced on BMW models starting in 2003.

This navigation system is found on the following BMW models:

Series 1 – E81 E82 E87 E88
Series 3 – E90 E91 E92 E93
Series 5 – E60 E61
Series 6 – E63 E64
x5 – E70
x6 – E71 E72

Rebooting the CCC navigation system may be necessary when the system remains blocked and no longer responds to commands.

To reboot the system, you must simultaneously press the volume button + eject CD + eject navigation CD.

You can see step-by-step reboot method in this video material:

SUBSCRIBE TO MY YOUTUBE CHANNEL

DISCLAIMER :

This article is only for informative purposes. We do not take any responsibility and we are not liable for any damage you produce as a result of using the information contained by this article . Use the information at your own risk . Thank you for your understanding !
Parking Light Front Replacement Skoda Octavia 1

Octavia 1 (1996-2010), Skoda

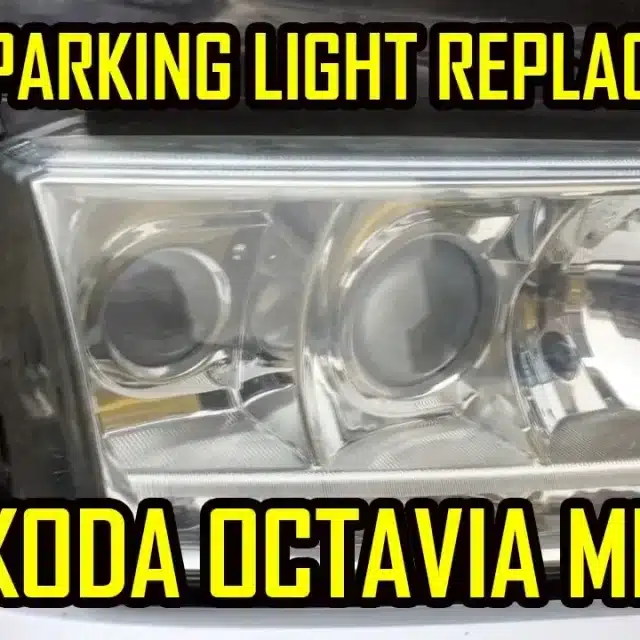
Parking Light Front Replacement Skoda Octavia 1

In this article, I will show you how to replace the front parking light bulb on Skoda Octavia 1.

As we know, it can be very disturbing and dangerous to drive at night with a burnt out light, moreover in many countries it is even illegal.

The law says that it is mandatory that at least the light bulb on the left side of the car works.

The bulb type is T10 and can be easily found at almost any parts store or gas station.

Replacement time : 4 minutes

To replace one of the front parking light bulbs on Skoda Octavia 1, I invite you to watch the following video tutorial:

SUBSCRIBE TO MY YOUTUBE CHANNEL

DISCLAIMER :

This article is only for informative purposes. We do not take any responsibility and we are not liable for any damage you produce as a result of using the information contained by this article . Use the information at your own risk . Thank you for your understanding !
Xenon Bulb HID Replacement Skoda Octavia 1

Octavia 1 (1996-2010), Skoda

Xenon Bulb HID Replacement Skoda Octavia 1

In this article, I will show you how to replace the xenon bulbs on Skoda Octavia 1 .

As we know, it can be very disturbing and dangerous to drive at night with a burnt-out light bulb, moreover in some countries it is even illegal.

The law in most countries says that it is mandatory that at least the light bulb on the left side of the car to be on.

The xenon bulb is the D2S model and can be found very easily at almost any auto parts store .

Replacement time : 5 min

Tools needed :    7mm socket

                                 t15 torx

                                 t25 torx 

                                 t27 torx

To replace one of the xenon bulbs on Skoda Octavia 1 , you can see the full procedure in the video bellow :

SUBSCRIBE TO MY YOUTUBE CHANNEL

DISCLAIMER :

This article is only for informative purposes. We do not take any responsibility and we are not liable for any damage you produce as a result of using the information contained by this article . Use the information at your own risk . Thank you for your understanding !
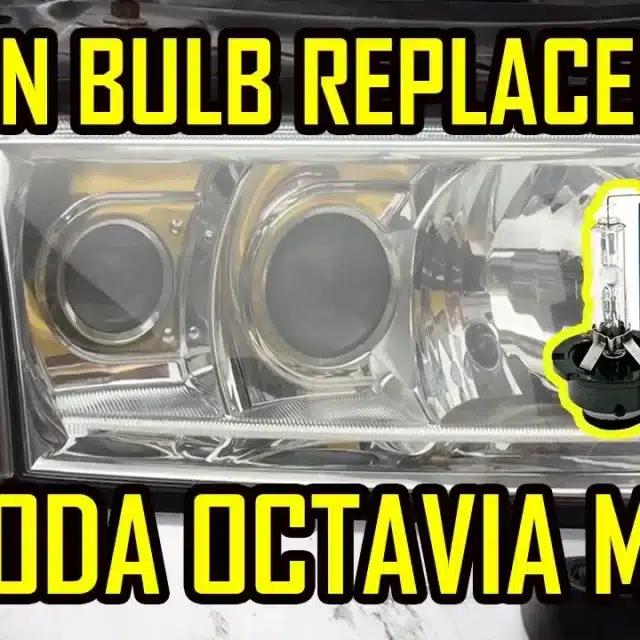
Windscreen Wiper Blades Replacement Hyundai Veracruz ix55

Hyundai, ix55 Veracruz (2006-2015)

Windscreen Wiper Blades Replacement Hyundai Veracruz ix55

In this article, I will show you step by step how to replace the windshield wipers on the Hyundai Veracruz ix55 , in just a few steps.

We all know how annoying and dangerous situations are when it rains and the windshield wipers either don’t wipe well, or leave a mess or leave a fog on the windshield. These problems are accentuated at night, when the headlights of other traffic participants hit us through the windshield.

For my own safety , I have chosen to replace the windshield wiper blades every year and every time , I choose original or best quality blades.

For safety, I never choose the cheapest ones !

Working time: 1 minutes

To see step by step how to replace the windshield wipers on Hyundai Veracruz ix55 , I invite you to watch the following video tutorial:

SUBSCRIBE TO MY YOUTUBE CHANNEL

DISCLAIMER :

This article is only for informative purposes. We do not take any responsibility and we are not liable for any damage you produce as a result of using the information contained by this article . Use the information at your own risk . Thank you for your understanding !

Headlight Removal Skoda Octavia 1

Octavia 1 (1996-2010), Skoda

Headlight Removal Skoda Octavia 1

In this article, I will show you step by step how to remove the headlights from the Skoda Octavia 1.

Dismantling the headlights may be necessary for: replacing a broken/defective headlight, replacing some bulbs, replacing modules or perhaps simply to polish the headlight.

This operation is quite simple and can be done by anyone, even by someone who doesn’t have much knowledge of car mechanics.

To see exactly how to remove the headlight from the Skoda Octavia 1, I invite you to watch the following video tutorial:

SUBSCRIBE TO MY YOUTUBE CHANNEL

DISCLAIMER :

This article is only for informative purposes. We do not take any responsibility and we are not liable for any damage you produce as a result of using the information contained by this article . Use the information at your own risk . Thank you for your understanding !
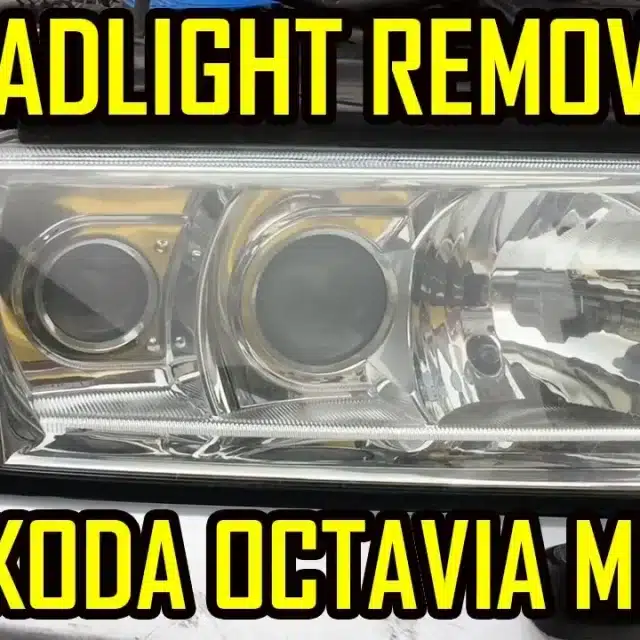
Reset Oil Service Inspection BMW E36 E39 E34 E38 E53

3 Series, 5 Series, 7 Series, BMW, E34 (1987-1996), E36 (1990–2000), E38 (1994-2001), E39 (1995-2004), X series, X5 E53 (1996-2006)

Reset Oil Service Inspection BMW E36 E39 E34 E38 E53

In this article I will show you step by step how to reset the oil service interval on BMW E36 E39 E34 E38 E53.

To reset, you must perform the following steps:

  1. Turn ON the ignition
  2. Insert one end of an electric wire into the tester socket at pin no. 7 and touch the other end of the wire to a screw (ground) for about 14 seconds
  3. After 14 seconds, you can remove the wire and the oil service interval has been reset

RESET DURATION: 1 minute

TOOLS REQUIRED: a piece of approximately 5 cm of electrical wire

To see how to reset the service interval on BMW E36 E39 E34 E38 E53, I invite you to watch the following tutorial:

SUBSCRIBE TO MY YOUTUBE CHANNEL

DISCLAIMER :

This article is only for informative purposes. We do not take any responsibility and we are not liable for any damage you produce as a result of using the information contained by this article . Use the information at your own risk . Thank you for your understanding !

Tail Light Bulb Replacement Skoda Octavia 1

Octavia 1 (1996-2010), Skoda

Tail Light Bulb Replacement Skoda Octavia 1

In this article, I will show you how to replace the bulbs from the rear lights on Skoda Octavia 1 .

As we know, it can be very disturbing and dangerous to drive at night with a burnt-out taillight bulb, and even more in many countries it is illegal.

The law says that it is mandatory that at least the light bulb on the left side of the car works.

On the rear taillights we find bulbs for the following: parking light , brake , turn signal , reverse , fog .

Bulb model: P21W

Replacement time: 2 minutes

To replace one of the parking , brake , turn signal , reverse or fog lights on Skoda Octavia 1  , I invite you to watch the following video tutorial:

SUBSCRIBE TO MY YOUTUBE CHANNEL

DISCLAIMER :

This article is only for informative purposes. We do not take any responsibility and we are not liable for any damage you produce as a result of using the information contained by this article . Use the information at your own risk . Thank you for your understanding !
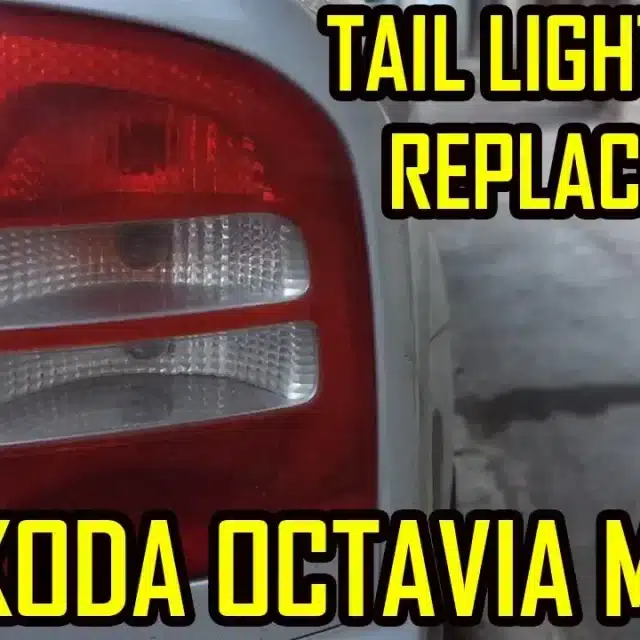
License Plate Lamp Replacement Audi A4 B8 A5 Q5 TT

A4 B8 (2009-2016), A5 8T/8F (2007-2017), Audi, Q5 8R (2009-2017), TT 8J (2008-2015)

License Plate Lamp Replacement Audi A4 B8 A5 Q5 TT

In this article I will explain how to replace the lamps from the license plate .

I used for replacement a set of lamps with 24 LEDs, clear white and very powerful.

As you know, the law obliges you to have the lights from the registration number functional, in order to be visible at night.

Whether you want to replace the burned out bulb in your classic lamp or whether you want to upgrade to LED lamps, I will explain and show you step by step the whole procedure.

Required tools: flathead screwdriver

To see exactly how to replace the bulb or replace the lamp, I invite you to watch the following video tutorial:

SUBSCRIBE TO MY YOUTUBE CHANNEL

DISCLAIMER :

This article is only for informative purposes. We do not take any responsibility and we are not liable for any damage you produce as a result of using the information contained by this article . Use the information at your own risk . Thank you for your understanding !
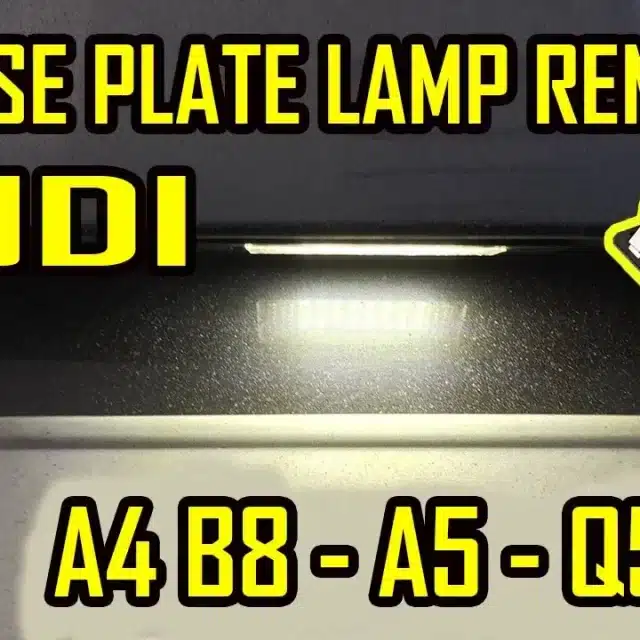
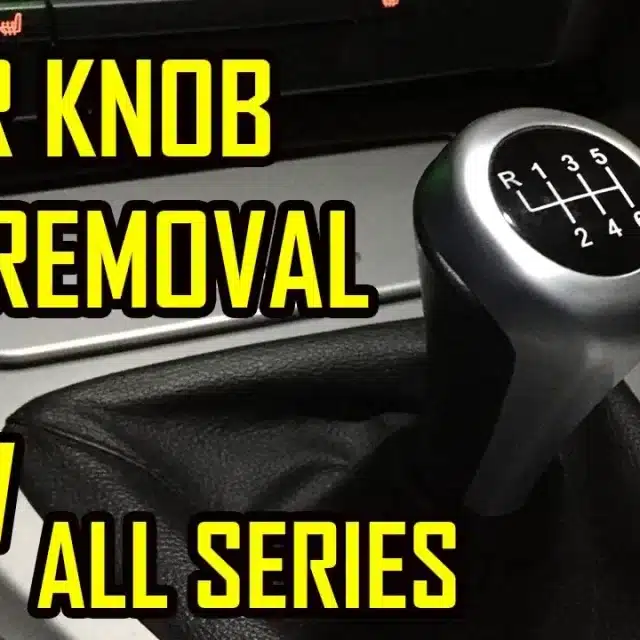
Gear Knob Shift Replacement BMW All Series

1 Series, 3 Series, 4 Series, 5 Series, 6 Series, 7 Series, BMW, E39 (1995-2004), E60 E61 (2003-2010), E81 E82 E87 E88 (2004-2013), E90 E91 E92 E93 (2005-2011), F01 (2009-2015), F06 F12 F13 (2012-2017), F10 F11 F07 (2009-2017), F30 F31 F34 F35 (2013-2019), F32 F33 F34 F36 (2014-2020), X series, X3 F25 (2010-2017), X4 F26 (2015-2018), X5 E70 (2007-2013), X5 F15 (2013-2018), X6 E71 (2008-2014), X6 F16 (2014-2019)

Gear Knob Shift Replacement BMW All Series

In this article I will show you step by step how to remove the gear knob for the majority of BMW models with a manual gearbox.

Most of the time, the BMW knob ends up peeling off and looking very ugly, and that is the time when we have to replace it.

To remove the gear knob , you will have to give it a slight left/right play and pull it strongly upwards.

!!!BE CAREFUL!!! – be very careful when pulling the gear knob. The gearbox would ideally be in gears 2 or 4, because when it slips, there is a chance that your hand will go into the rearview mirror and you will break it. I know at least 2 people who damaged their rearview mirror trying to remove the gear knob ?

To install the new knob, you must gently place it on the guide at the end of the rod and give it two blows with the palm of your hand to snap it into position.

REPLACEMENT TIME : 2 mins

To see exactly what needs to be done, I invite you to watch the following video tutorial:

SUBSCRIBE TO MY YOUTUBE CHANNEL

DISCLAIMER :

This article is only for informative purposes. We do not take any responsibility and we are not liable for any damage you produce as a result of using the information contained by this article . Use the information at your own risk . Thank you for your understanding !