This article is only for informative purposes. We do not take any responsibility and we are not liable for any damage you produce as a result of using the information contained by this article . Use the information at your own risk . Thank you for your understanding !
This article is only for informative purposes. We do not take any responsibility and we are not liable for any damage you produce as a result of using the information contained by this article . Use the information at your own risk . Thank you for your understanding !
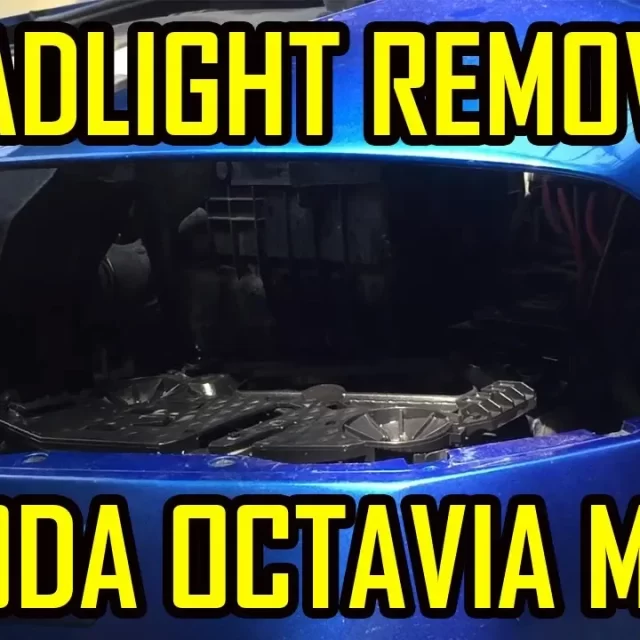
In this article, I will show you step by step how to remove the headlights from the Skoda Octavia 2.
Dismantling the headlights may be necessary for: replacing a broken/defective headlight, replacing some bulbs, replacing modules or perhaps simply to polish the headlight.
This operation is quite simple and can be done by anyone, even by someone who doesn’t have much knowledge of car mechanics.
To see exactly how to remove the headlight from the Skoda Octavia 2, I invite you to watch the following video tutorial:
This article is only for informative purposes. We do not take any responsibility and we are not liable for any damage you produce as a result of using the information contained by this article . Use the information at your own risk . Thank you for your understanding !
This article is only for informative purposes. We do not take any responsibility and we are not liable for any damage you produce as a result of using the information contained by this article . Use the information at your own risk . Thank you for your understanding !
This article is only for informative purposes. We do not take any responsibility and we are not liable for any damage you produce as a result of using the information contained by this article . Use the information at your own risk . Thank you for your understanding !
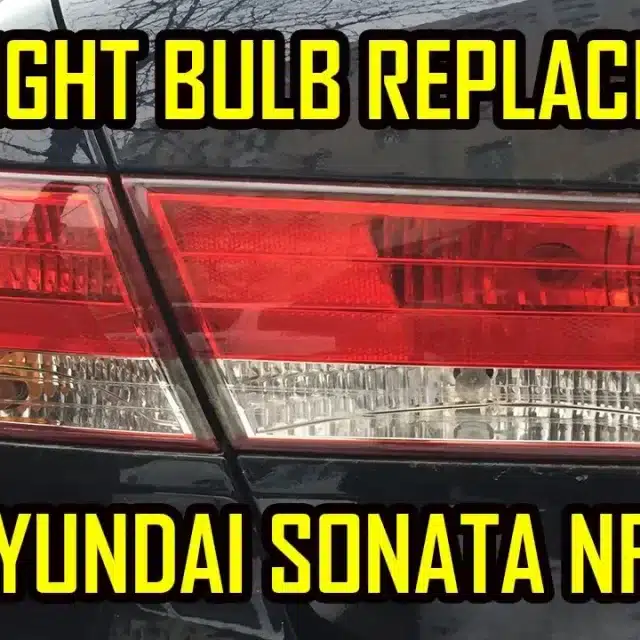
In this article, I will show you how to replace the bulbs from the rear lights on Hyundai Sonata NF / 5 .
As we know, it can be very disturbing and dangerous to drive at night with a burnt-out taillight bulb, and even more in many countries it is illegal.
The law says that it is mandatory that at least the light bulb on the left side of the car works.
On the rear taillights we find bulbs for the following: parking light , brake , turn signal , reverse , fog .
Bulb model: PY21W / P21W
Replacement time: 2 minutes
To replace one of the parking , brake , turn signal , reverse or fog lights on Hyundai Sonata NF / 5 , I invite you to watch the following video tutorial:
This article is only for informative purposes. We do not take any responsibility and we are not liable for any damage you produce as a result of using the information contained by this article . Use the information at your own risk . Thank you for your understanding !
This article is only for informative purposes. We do not take any responsibility and we are not liable for any damage you produce as a result of using the information contained by this article . Use the information at your own risk . Thank you for your understanding !
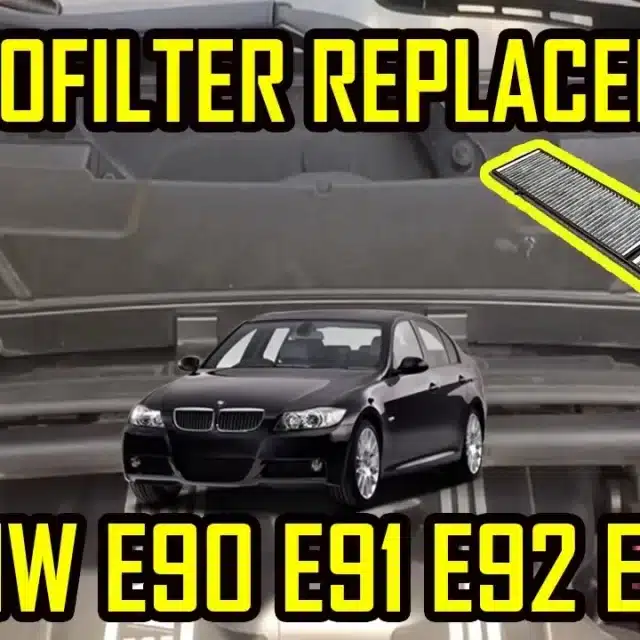
Cabin Filter Microfilter Replacement BMW E90 E91 E92 E93
In this article I will show you how to replace the microfilter on BMW E90 E91 E92 E93.
The microfilter is also known as the cabin filter.
Its function is to filter pollen, dust, soot and any other physical contaminants that enters the car’s cabin, through the ventilation system.
In addition to the classic filters, active carbon filters and antibacterial filters have appeared on the market, which, although they are more expensive than the classic ones, they have the great advantage that, in addition to solid physical contaminants, they can also stop odors or gases from the environment, and can also have an antibacterial role.
Classic microfilter
The classic microfilter is used to stop solid matters such as dust, soot or pollen.
The price of a classic microfilter is usually lower than an active carbon filter or an antibacterial filter.
Active carbon microfilter
Unlike the classic microfilter, an active carbon filter has the ability to capture dangerous gases to health, such as ozone or nitrogen dioxide, from the air, thanks to the additional layer of active carbon.
The disadvantage of such a filter is the higher price.
Antibacterial microfilter
With this mkicrofilter, protection will be maximum.
In addition to all the functions listed above, this filter has properties that can neutralize the entry of bacteria from the air into the passenger compartment of your car, as well can stop the formation of bacteria in the materials from which it is fabricated .
Replacing the microfilter
Regular replacement of the microfilter is essential, even if many of us would be tempted to neglect it, because it gradually loses its efficiency.
The replacement period of the filter differs from one product to another, but it is recommended to replace it at most once a year.
To see how to replace the microfilter on the BMW E90 E91 E92 E93, I invite you to watch the following video tutorial:
This article is only for informative purposes. We do not take any responsibility and we are not liable for any damage you produce as a result of using the information contained by this article . Use the information at your own risk . Thank you for your understanding !
This article is only for informative purposes. We do not take any responsibility and we are not liable for any damage you produce as a result of using the information contained by this article . Use the information at your own risk . Thank you for your understanding !
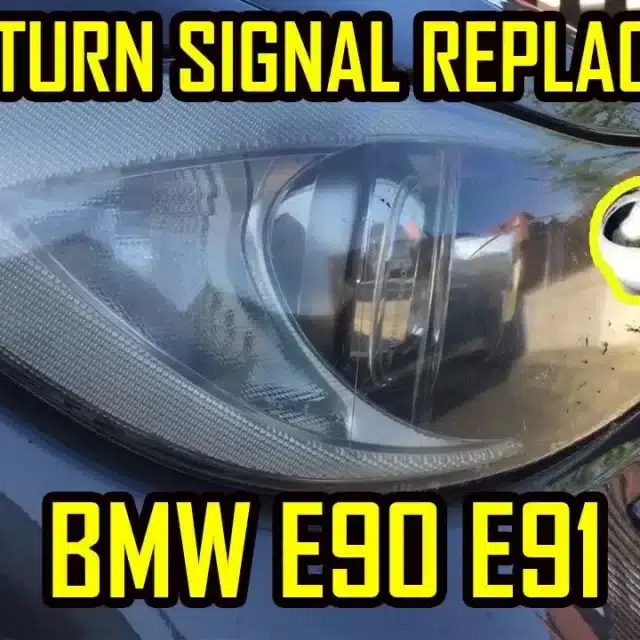
Front Turn Signal Indicator Replacement BMW E90 E91
In this article, I will show you how to replace the turn signal light bulbs on the front.
The method of replacing the light bulb is very simple and can be done by anyone, even by someone without experience in mechanics.
The turn signal light is a very important light, because the traffic participants will be able to know your intention to change the direction of travel.
More than that, driving a vehicle on public roads with non-functional turn signal bulbs will result in a fine + withholding of the registration certificate.
Bulb model: PY21W Silver
Replacement time: 3 minutes
To see how to replace the front turn signal bulb on the BMW E90 E91, I invite you to watch the following step by step video tutorial:
This article is only for informative purposes. We do not take any responsibility and we are not liable for any damage you produce as a result of using the information contained by this article . Use the information at your own risk . Thank you for your understanding !
We use cookies on our website to give you the most relevant experience by remembering your preferences and repeat visits. By clicking “Accept All”, you consent to the use of ALL the cookies. However, you may visit "Cookie Settings" to provide a controlled consent.
This website uses cookies to improve your experience while you navigate through the website. Out of these, the cookies that are categorized as necessary are stored on your browser as they are essential for the working of basic functionalities of the website. We also use third-party cookies that help us analyze and understand how you use this website. These cookies will be stored in your browser only with your consent. You also have the option to opt-out of these cookies. But opting out of some of these cookies may affect your browsing experience.
Necessary cookies are absolutely essential for the website to function properly. These cookies ensure basic functionalities and security features of the website, anonymously.
Cookie
Duration
Description
cookielawinfo-checkbox-analytics
11 months
This cookie is set by GDPR Cookie Consent plugin. The cookie is used to store the user consent for the cookies in the category "Analytics".
cookielawinfo-checkbox-functional
11 months
The cookie is set by GDPR cookie consent to record the user consent for the cookies in the category "Functional".
cookielawinfo-checkbox-necessary
11 months
This cookie is set by GDPR Cookie Consent plugin. The cookies is used to store the user consent for the cookies in the category "Necessary".
cookielawinfo-checkbox-others
11 months
This cookie is set by GDPR Cookie Consent plugin. The cookie is used to store the user consent for the cookies in the category "Other.
cookielawinfo-checkbox-performance
11 months
This cookie is set by GDPR Cookie Consent plugin. The cookie is used to store the user consent for the cookies in the category "Performance".
viewed_cookie_policy
11 months
The cookie is set by the GDPR Cookie Consent plugin and is used to store whether or not user has consented to the use of cookies. It does not store any personal data.
Functional cookies help to perform certain functionalities like sharing the content of the website on social media platforms, collect feedbacks, and other third-party features.
Performance cookies are used to understand and analyze the key performance indexes of the website which helps in delivering a better user experience for the visitors.
Analytical cookies are used to understand how visitors interact with the website. These cookies help provide information on metrics the number of visitors, bounce rate, traffic source, etc.
Advertisement cookies are used to provide visitors with relevant ads and marketing campaigns. These cookies track visitors across websites and collect information to provide customized ads.