This article is only for informative purposes. We do not take any responsibility and we are not liable for any damage you produce as a result of using the information contained by this article . Use the information at your own risk . Thank you for your understanding !
This article is only for informative purposes. We do not take any responsibility and we are not liable for any damage you produce as a result of using the information contained by this article . Use the information at your own risk . Thank you for your understanding !
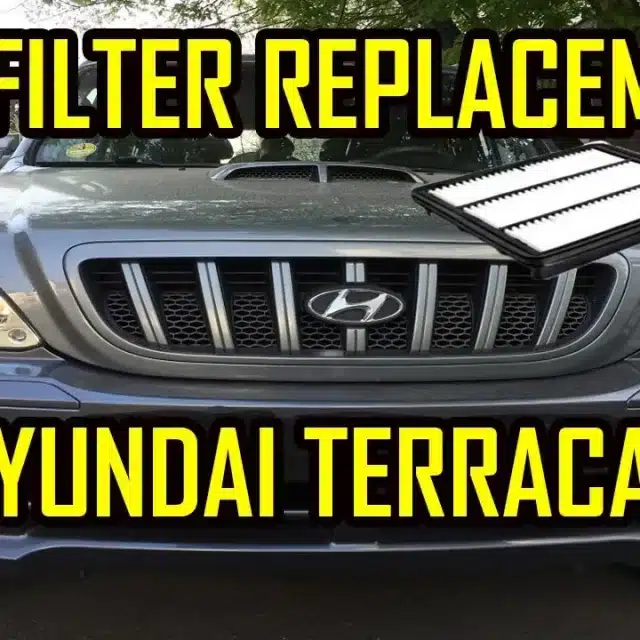
Replacing the air filter is one of the usual operations, its replacement being necessary at every overhaul of your car’s engine!
The replacement of the air filter should never be neglected, because it can affect the performance and life of the engine.
For a proper operation, the car engine needs not only fuel but also a large amount of clean air to maintain the combustion.
For every 100 km, the engine needs about 120 cubic meters of air from the atmosphere.
The purpose of the air filter is to filter the air from the atmosphere and not allow insects, dust, sand or other particles to enter the combustion chamber.
Over time, the filter is loaded with external agents and no longer allows the passage of a sufficient amount of air to the combustion chamber of the engine.
When the air filter is loaded with particles, not enough oxygen will reach the engine to make the correct mixture of fuel and air. As a result, in this combustion process the fuel will come to predominate, which will be burned in ever greater quantities.
When should the air filter be changed?
Each car manufacturer has its own recommendations for the interval at which the air filter must be replaced with a new one. This interval can vary between 10,000 – 30,000 km.
This is an informative value, which can be influenced by the place where you mainly drive.
In big and congested cities, with a lot of dust, it is good to change the air filter right at the halfway point of the interval indicated by the manufacturer.
To see how to replace the air filter on the Hyundai Terracan, I invite you to watch the following video tutorial:
This article is only for informative purposes. We do not take any responsibility and we are not liable for any damage you produce as a result of using the information contained by this article . Use the information at your own risk . Thank you for your understanding !
Removing the kidney grill from BMW E90 E91 E92 E93 will be done in 2 stages:
1.Removing the grilles from the bumper 2.Removing the hood ornaments
Removing the grilles from the bumper
To remove the grills from the bumper , remove the screws at the top . You will need a T30 torx. Removing these screws is necessary to have access behind the grills.
Press each grill support clip until is released. Each grill has 7 support clips.
Installing the new grills is very easy. Place the grill in position and gently press it until it clicks.
Now you can tighten the screws of the bumper in place.
Removing the hood ornaments
To remove the ornaments from the hood, you have to remove the six screws, three for each ornament. You will need a T20 torx.
Installing the new ornaments is very simple. Place the new ornaments in position and tighten all six screws.
To see how the kidney grills are replaced on the BMW E90 E91 E92 E93, I invite you to watch the following video tutorial:
This article is only for informative purposes. We do not take any responsibility and we are not liable for any damage you produce as a result of using the information contained by this article . Use the information at your own risk . Thank you for your understanding !
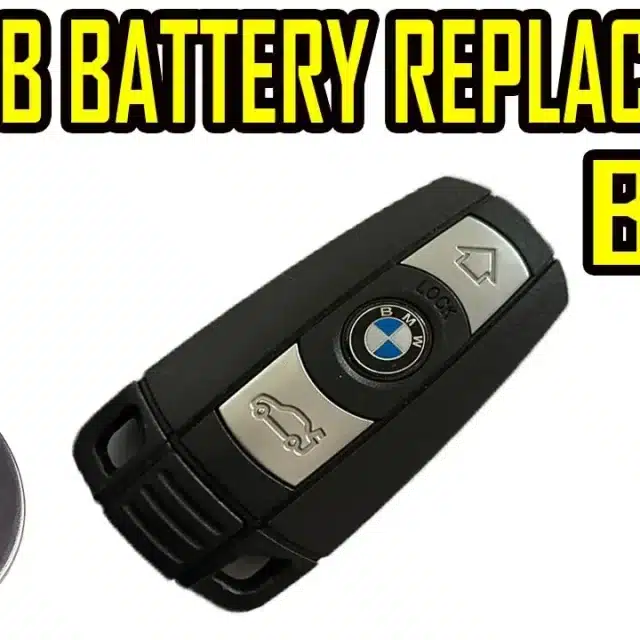
How to Replace Battery BMW Smart Key Fob Confort Access E Series
This article refers to the key of those cars equipped with the Confort Access system. The cars that doesn’t come equipped with this option, unfortunately, have an encapsulated key case, because the battery is charged while the key is in the ignition , by induction.
In the case of cars without Confort Access, replacing the battery is more difficult, because the key case must be cut, replaced the battery and a new case must be installed.
Battery type: CR2032
Replacement time: 1 minute
To see how the key battery can be replaced, I invite you to watch the following video tutorial :
This article is only for informative purposes. We do not take any responsibility and we are not liable for any damage you produce as a result of using the information contained by this article . Use the information at your own risk . Thank you for your understanding !
This article is only for informative purposes. We do not take any responsibility and we are not liable for any damage you produce as a result of using the information contained by this article . Use the information at your own risk . Thank you for your understanding !
This article is only for informative purposes. We do not take any responsibility and we are not liable for any damage you produce as a result of using the information contained by this article . Use the information at your own risk . Thank you for your understanding !
This article is only for informative purposes. We do not take any responsibility and we are not liable for any damage you produce as a result of using the information contained by this article . Use the information at your own risk . Thank you for your understanding !
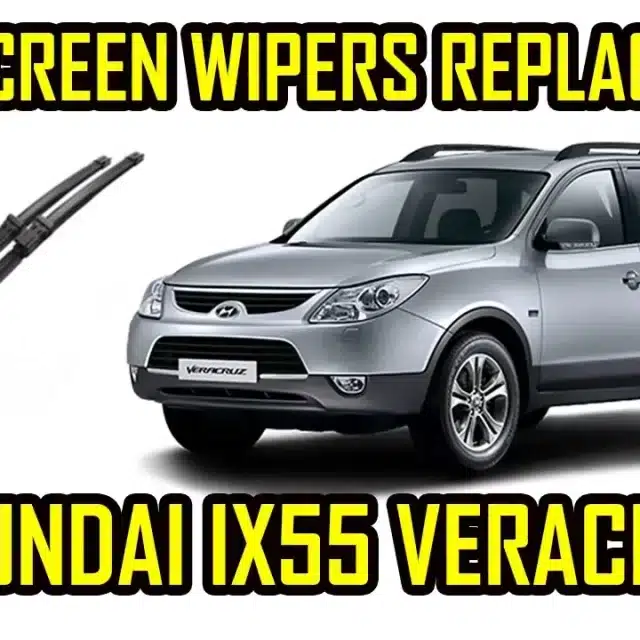
In this article, I will show you step by step how to replace the windshield wipers on the Hyundai Veracruz ix55 , in just a few steps.
We all know how annoying and dangerous situations are when it rains and the windshield wipers either don’t wipe well, or leave a mess or leave a fog on the windshield. These problems are accentuated at night, when the headlights of other traffic participants hit us through the windshield.
For my own safety , I have chosen to replace the windshield wiper blades every year and every time , I choose original or best quality blades.
For safety, I never choose the cheapest ones !
Working time: 1 minutes
To see step by step how to replace the windshield wipers on Hyundai Veracruz ix55 , I invite you to watch the following video tutorial:
This article is only for informative purposes. We do not take any responsibility and we are not liable for any damage you produce as a result of using the information contained by this article . Use the information at your own risk . Thank you for your understanding !
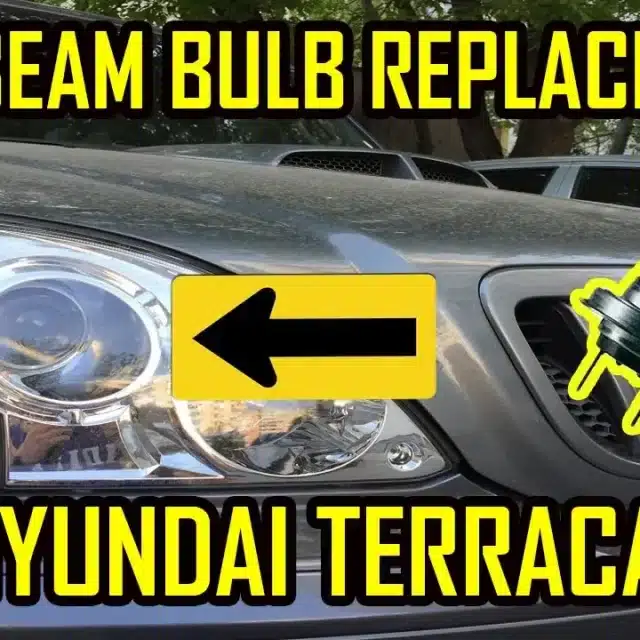
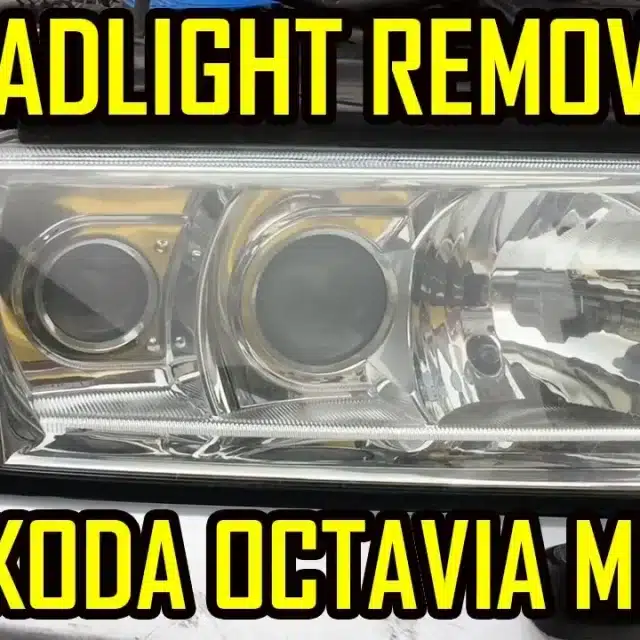
In this article, I will show you step by step how to remove the headlights from the Skoda Octavia 1.
Dismantling the headlights may be necessary for: replacing a broken/defective headlight, replacing some bulbs, replacing modules or perhaps simply to polish the headlight.
This operation is quite simple and can be done by anyone, even by someone who doesn’t have much knowledge of car mechanics.
To see exactly how to remove the headlight from the Skoda Octavia 1, I invite you to watch the following video tutorial:
This article is only for informative purposes. We do not take any responsibility and we are not liable for any damage you produce as a result of using the information contained by this article . Use the information at your own risk . Thank you for your understanding !
We use cookies on our website to give you the most relevant experience by remembering your preferences and repeat visits. By clicking “Accept All”, you consent to the use of ALL the cookies. However, you may visit "Cookie Settings" to provide a controlled consent.
This website uses cookies to improve your experience while you navigate through the website. Out of these, the cookies that are categorized as necessary are stored on your browser as they are essential for the working of basic functionalities of the website. We also use third-party cookies that help us analyze and understand how you use this website. These cookies will be stored in your browser only with your consent. You also have the option to opt-out of these cookies. But opting out of some of these cookies may affect your browsing experience.
Necessary cookies are absolutely essential for the website to function properly. These cookies ensure basic functionalities and security features of the website, anonymously.
Cookie
Duration
Description
cookielawinfo-checkbox-analytics
11 months
This cookie is set by GDPR Cookie Consent plugin. The cookie is used to store the user consent for the cookies in the category "Analytics".
cookielawinfo-checkbox-functional
11 months
The cookie is set by GDPR cookie consent to record the user consent for the cookies in the category "Functional".
cookielawinfo-checkbox-necessary
11 months
This cookie is set by GDPR Cookie Consent plugin. The cookies is used to store the user consent for the cookies in the category "Necessary".
cookielawinfo-checkbox-others
11 months
This cookie is set by GDPR Cookie Consent plugin. The cookie is used to store the user consent for the cookies in the category "Other.
cookielawinfo-checkbox-performance
11 months
This cookie is set by GDPR Cookie Consent plugin. The cookie is used to store the user consent for the cookies in the category "Performance".
viewed_cookie_policy
11 months
The cookie is set by the GDPR Cookie Consent plugin and is used to store whether or not user has consented to the use of cookies. It does not store any personal data.
Functional cookies help to perform certain functionalities like sharing the content of the website on social media platforms, collect feedbacks, and other third-party features.
Performance cookies are used to understand and analyze the key performance indexes of the website which helps in delivering a better user experience for the visitors.
Analytical cookies are used to understand how visitors interact with the website. These cookies help provide information on metrics the number of visitors, bounce rate, traffic source, etc.
Advertisement cookies are used to provide visitors with relevant ads and marketing campaigns. These cookies track visitors across websites and collect information to provide customized ads.