Removing the kidney grill from BMW E90 E91 E92 E93 will be done in 2 stages:
1.Removing the grilles from the bumper 2.Removing the hood ornaments
Removing the grilles from the bumper
To remove the grills from the bumper , remove the screws at the top . You will need a T30 torx. Removing these screws is necessary to have access behind the grills.
Press each grill support clip until is released. Each grill has 7 support clips.
Installing the new grills is very easy. Place the grill in position and gently press it until it clicks.
Now you can tighten the screws of the bumper in place.
Removing the hood ornaments
To remove the ornaments from the hood, you have to remove the six screws, three for each ornament. You will need a T20 torx.
Installing the new ornaments is very simple. Place the new ornaments in position and tighten all six screws.
To see how the kidney grills are replaced on the BMW E90 E91 E92 E93, I invite you to watch the following video tutorial:
This article is only for informative purposes. We do not take any responsibility and we are not liable for any damage you produce as a result of using the information contained by this article . Use the information at your own risk . Thank you for your understanding !
How to Replace Battery BMW Smart Key Fob Confort Access E Series
This article refers to the key of those cars equipped with the Confort Access system. The cars that doesn’t come equipped with this option, unfortunately, have an encapsulated key case, because the battery is charged while the key is in the ignition , by induction.
In the case of cars without Confort Access, replacing the battery is more difficult, because the key case must be cut, replaced the battery and a new case must be installed.
Battery type: CR2032
Replacement time: 1 minute
To see how the key battery can be replaced, I invite you to watch the following video tutorial :
This article is only for informative purposes. We do not take any responsibility and we are not liable for any damage you produce as a result of using the information contained by this article . Use the information at your own risk . Thank you for your understanding !
This article is only for informative purposes. We do not take any responsibility and we are not liable for any damage you produce as a result of using the information contained by this article . Use the information at your own risk . Thank you for your understanding !
This article is only for informative purposes. We do not take any responsibility and we are not liable for any damage you produce as a result of using the information contained by this article . Use the information at your own risk . Thank you for your understanding !
In this article I will show you step by step how to remove the gear knob for the majority of BMW models with a manual gearbox.
Most of the time, the BMW knob ends up peeling off and looking very ugly, and that is the time when we have to replace it.
To remove the gear knob , you will have to give it a slight left/right play and pull it strongly upwards.
!!!BE CAREFUL!!! – be very careful when pulling the gear knob. The gearbox would ideally be in gears 2 or 4, because when it slips, there is a chance that your hand will go into the rearview mirror and you will break it. I know at least 2 people who damaged their rearview mirror trying to remove the gear knob ?
To install the new knob, you must gently place it on the guide at the end of the rod and give it two blows with the palm of your hand to snap it into position.
REPLACEMENT TIME : 2 mins
To see exactly what needs to be done, I invite you to watch the following video tutorial:
This article is only for informative purposes. We do not take any responsibility and we are not liable for any damage you produce as a result of using the information contained by this article . Use the information at your own risk . Thank you for your understanding !
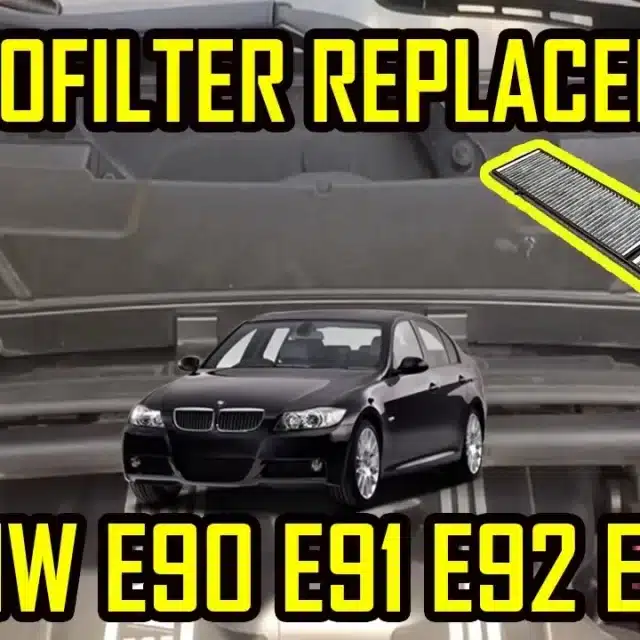
Cabin Filter Microfilter Replacement BMW E90 E91 E92 E93
In this article I will show you how to replace the microfilter on BMW E90 E91 E92 E93.
The microfilter is also known as the cabin filter.
Its function is to filter pollen, dust, soot and any other physical contaminants that enters the car’s cabin, through the ventilation system.
In addition to the classic filters, active carbon filters and antibacterial filters have appeared on the market, which, although they are more expensive than the classic ones, they have the great advantage that, in addition to solid physical contaminants, they can also stop odors or gases from the environment, and can also have an antibacterial role.
Classic microfilter
The classic microfilter is used to stop solid matters such as dust, soot or pollen.
The price of a classic microfilter is usually lower than an active carbon filter or an antibacterial filter.
Active carbon microfilter
Unlike the classic microfilter, an active carbon filter has the ability to capture dangerous gases to health, such as ozone or nitrogen dioxide, from the air, thanks to the additional layer of active carbon.
The disadvantage of such a filter is the higher price.
Antibacterial microfilter
With this mkicrofilter, protection will be maximum.
In addition to all the functions listed above, this filter has properties that can neutralize the entry of bacteria from the air into the passenger compartment of your car, as well can stop the formation of bacteria in the materials from which it is fabricated .
Replacing the microfilter
Regular replacement of the microfilter is essential, even if many of us would be tempted to neglect it, because it gradually loses its efficiency.
The replacement period of the filter differs from one product to another, but it is recommended to replace it at most once a year.
To see how to replace the microfilter on the BMW E90 E91 E92 E93, I invite you to watch the following video tutorial:
This article is only for informative purposes. We do not take any responsibility and we are not liable for any damage you produce as a result of using the information contained by this article . Use the information at your own risk . Thank you for your understanding !
This article is only for informative purposes. We do not take any responsibility and we are not liable for any damage you produce as a result of using the information contained by this article . Use the information at your own risk . Thank you for your understanding !
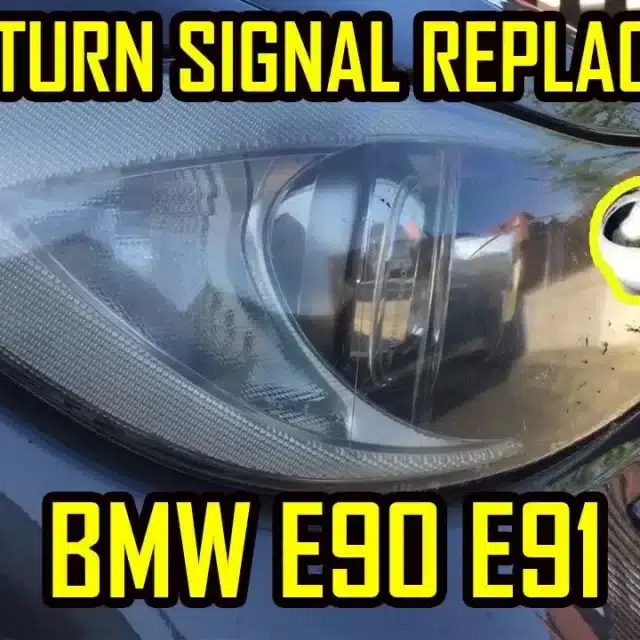
Front Turn Signal Indicator Replacement BMW E90 E91
In this article, I will show you how to replace the turn signal light bulbs on the front.
The method of replacing the light bulb is very simple and can be done by anyone, even by someone without experience in mechanics.
The turn signal light is a very important light, because the traffic participants will be able to know your intention to change the direction of travel.
More than that, driving a vehicle on public roads with non-functional turn signal bulbs will result in a fine + withholding of the registration certificate.
Bulb model: PY21W Silver
Replacement time: 3 minutes
To see how to replace the front turn signal bulb on the BMW E90 E91, I invite you to watch the following step by step video tutorial:
This article is only for informative purposes. We do not take any responsibility and we are not liable for any damage you produce as a result of using the information contained by this article . Use the information at your own risk . Thank you for your understanding !
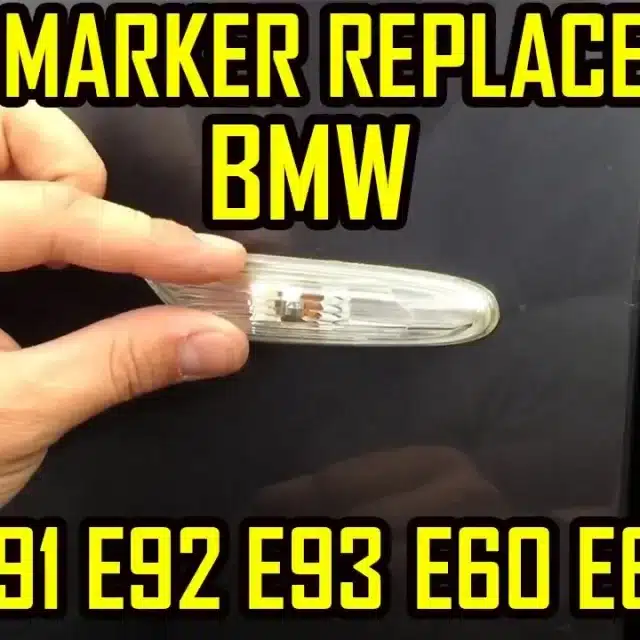
Side Marker Bulb Replacement BMW E90 E91 E92 E93 E60 E61 E87
In this article, I will show you how to replace the bulbs on the side turn signal markers .
The method of replacing the light bulb is very simple and can be done by anyone, even by someone without experience in mechanics.
The side turn signal light is a very important light, because the traffic participants on your side will be able to know your intention to change the direction .
Bulb model: T10 yellow
Replacement time: 2 minutes
To replace the side turn signal bulb , on BMW E90 E91 E92 E93 E60 E61 E87, I invite you to watch the following step by step video tutorial:
This article is only for informative purposes. We do not take any responsibility and we are not liable for any damage you produce as a result of using the information contained by this article . Use the information at your own risk . Thank you for your understanding !
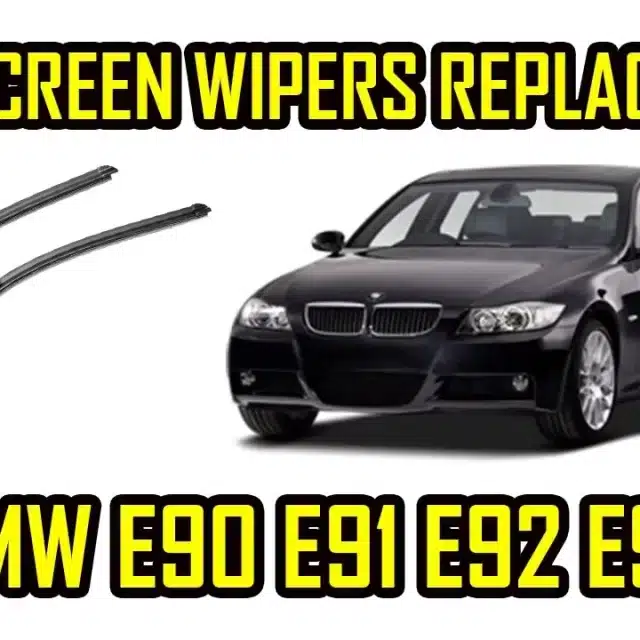
Windshield Wiper Blades Replacement BMW 3 Series E90 E91 E92 E93
In this article, I will show you step by step how to replace the windshield wipers on the BMW 3 series E90 E91 E92 E93, in just a few steps.
We all know how annoying and dangerous situations are when it rains and the windshield wipers either don’t wipe well, or leave a mess or leave a fog on the windshield. These problems are accentuated at night, when the headlights of other traffic participants hit us through the windshield.
For my own safety , I have chosen to replace the windshield wiper blades every year and every time , I choose original or best quality blades.
For safety, I never choose the cheapest ones !
OE part code: 61612455439
Working time: 2 minutes
To see step by step how to replace the windshield wipers on BMW 3 Series E90 E91 E92 E93, I invite you to watch the following video tutorial:
This article is only for informative purposes. We do not take any responsibility and we are not liable for any damage you produce as a result of using the information contained by this article . Use the information at your own risk . Thank you for your understanding !
We use cookies on our website to give you the most relevant experience by remembering your preferences and repeat visits. By clicking “Accept All”, you consent to the use of ALL the cookies. However, you may visit "Cookie Settings" to provide a controlled consent.
This website uses cookies to improve your experience while you navigate through the website. Out of these, the cookies that are categorized as necessary are stored on your browser as they are essential for the working of basic functionalities of the website. We also use third-party cookies that help us analyze and understand how you use this website. These cookies will be stored in your browser only with your consent. You also have the option to opt-out of these cookies. But opting out of some of these cookies may affect your browsing experience.
Necessary cookies are absolutely essential for the website to function properly. These cookies ensure basic functionalities and security features of the website, anonymously.
Cookie
Duration
Description
cookielawinfo-checkbox-analytics
11 months
This cookie is set by GDPR Cookie Consent plugin. The cookie is used to store the user consent for the cookies in the category "Analytics".
cookielawinfo-checkbox-functional
11 months
The cookie is set by GDPR cookie consent to record the user consent for the cookies in the category "Functional".
cookielawinfo-checkbox-necessary
11 months
This cookie is set by GDPR Cookie Consent plugin. The cookies is used to store the user consent for the cookies in the category "Necessary".
cookielawinfo-checkbox-others
11 months
This cookie is set by GDPR Cookie Consent plugin. The cookie is used to store the user consent for the cookies in the category "Other.
cookielawinfo-checkbox-performance
11 months
This cookie is set by GDPR Cookie Consent plugin. The cookie is used to store the user consent for the cookies in the category "Performance".
viewed_cookie_policy
11 months
The cookie is set by the GDPR Cookie Consent plugin and is used to store whether or not user has consented to the use of cookies. It does not store any personal data.
Functional cookies help to perform certain functionalities like sharing the content of the website on social media platforms, collect feedbacks, and other third-party features.
Performance cookies are used to understand and analyze the key performance indexes of the website which helps in delivering a better user experience for the visitors.
Analytical cookies are used to understand how visitors interact with the website. These cookies help provide information on metrics the number of visitors, bounce rate, traffic source, etc.
Advertisement cookies are used to provide visitors with relevant ads and marketing campaigns. These cookies track visitors across websites and collect information to provide customized ads.